Console Lid Installation
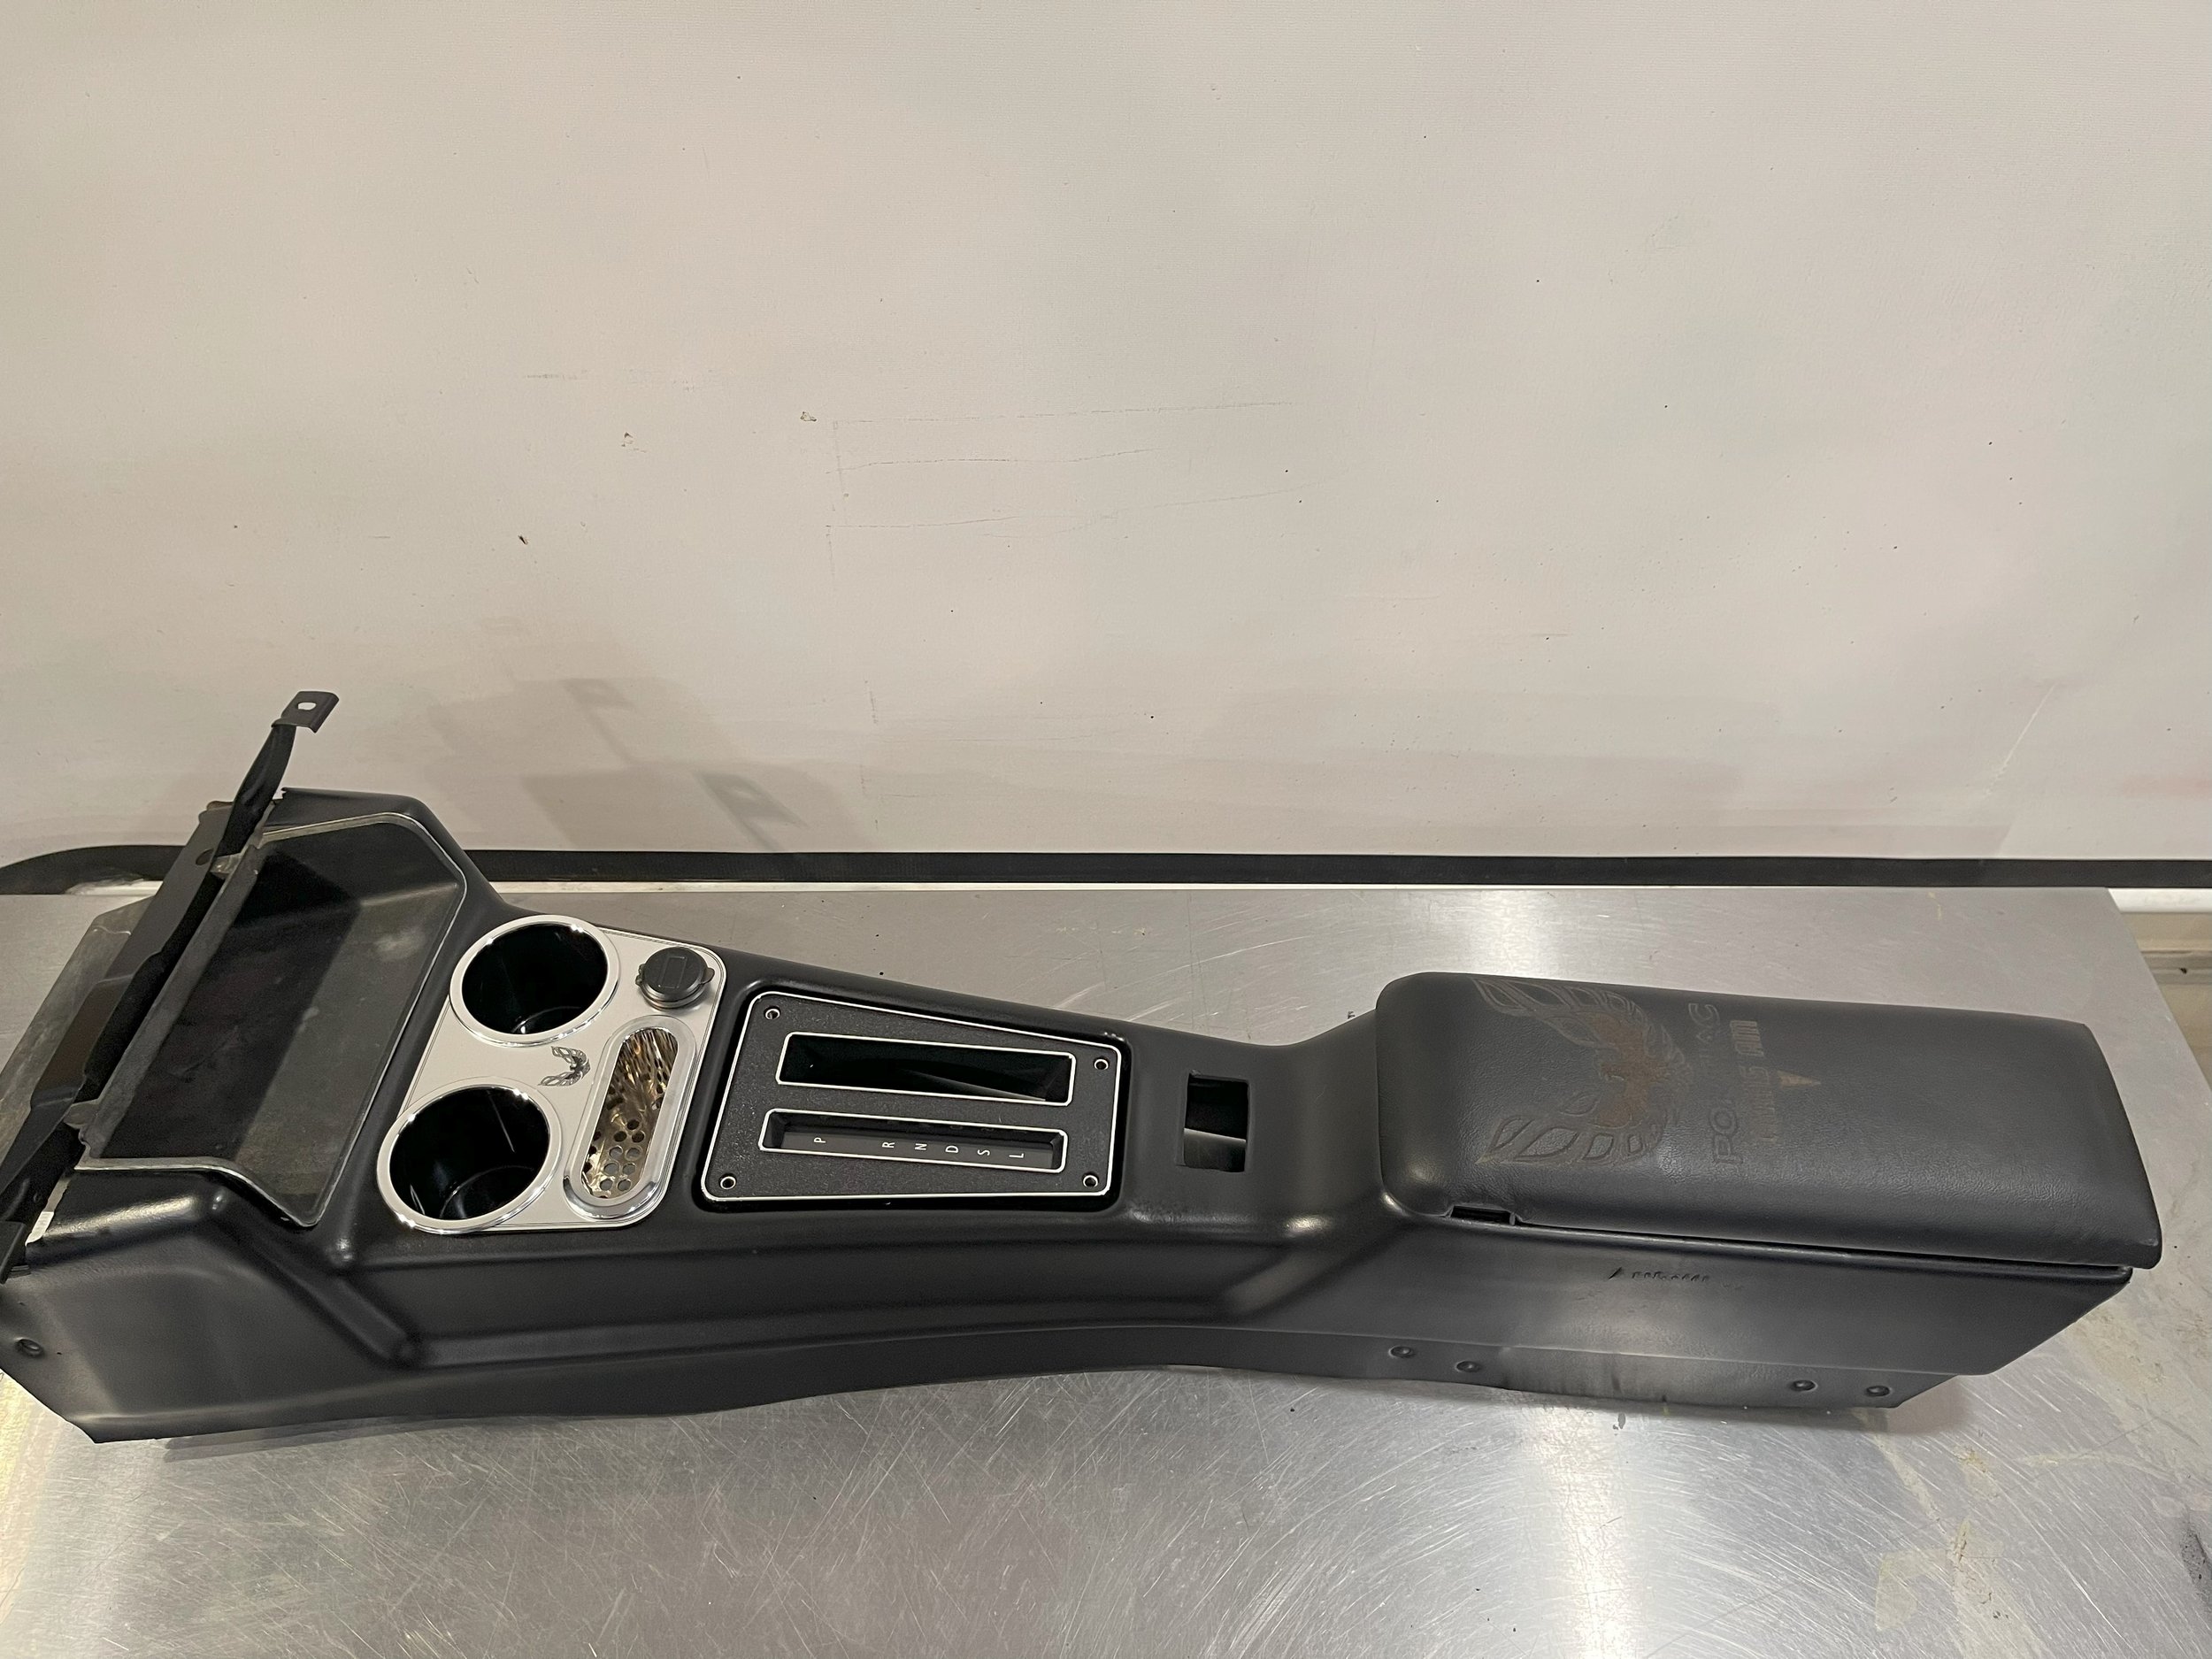
Step 1 - Open console door and remove 2 hex screws in console compartment.
Step 2 - Remove 5 Phillips screws and door stop spring and remove old lid.
Step 3 - Transfer over latch and spring, rivets or screws can secure the lid arm hinge if required.
Step 4 - Install new lid starting with latch screws.
Step 5 - Reinstall the stop spring.
Step 6 - Repeat removal process to install.
Step 7 - Leather conditioners recommended.


Drink Bezel Installation
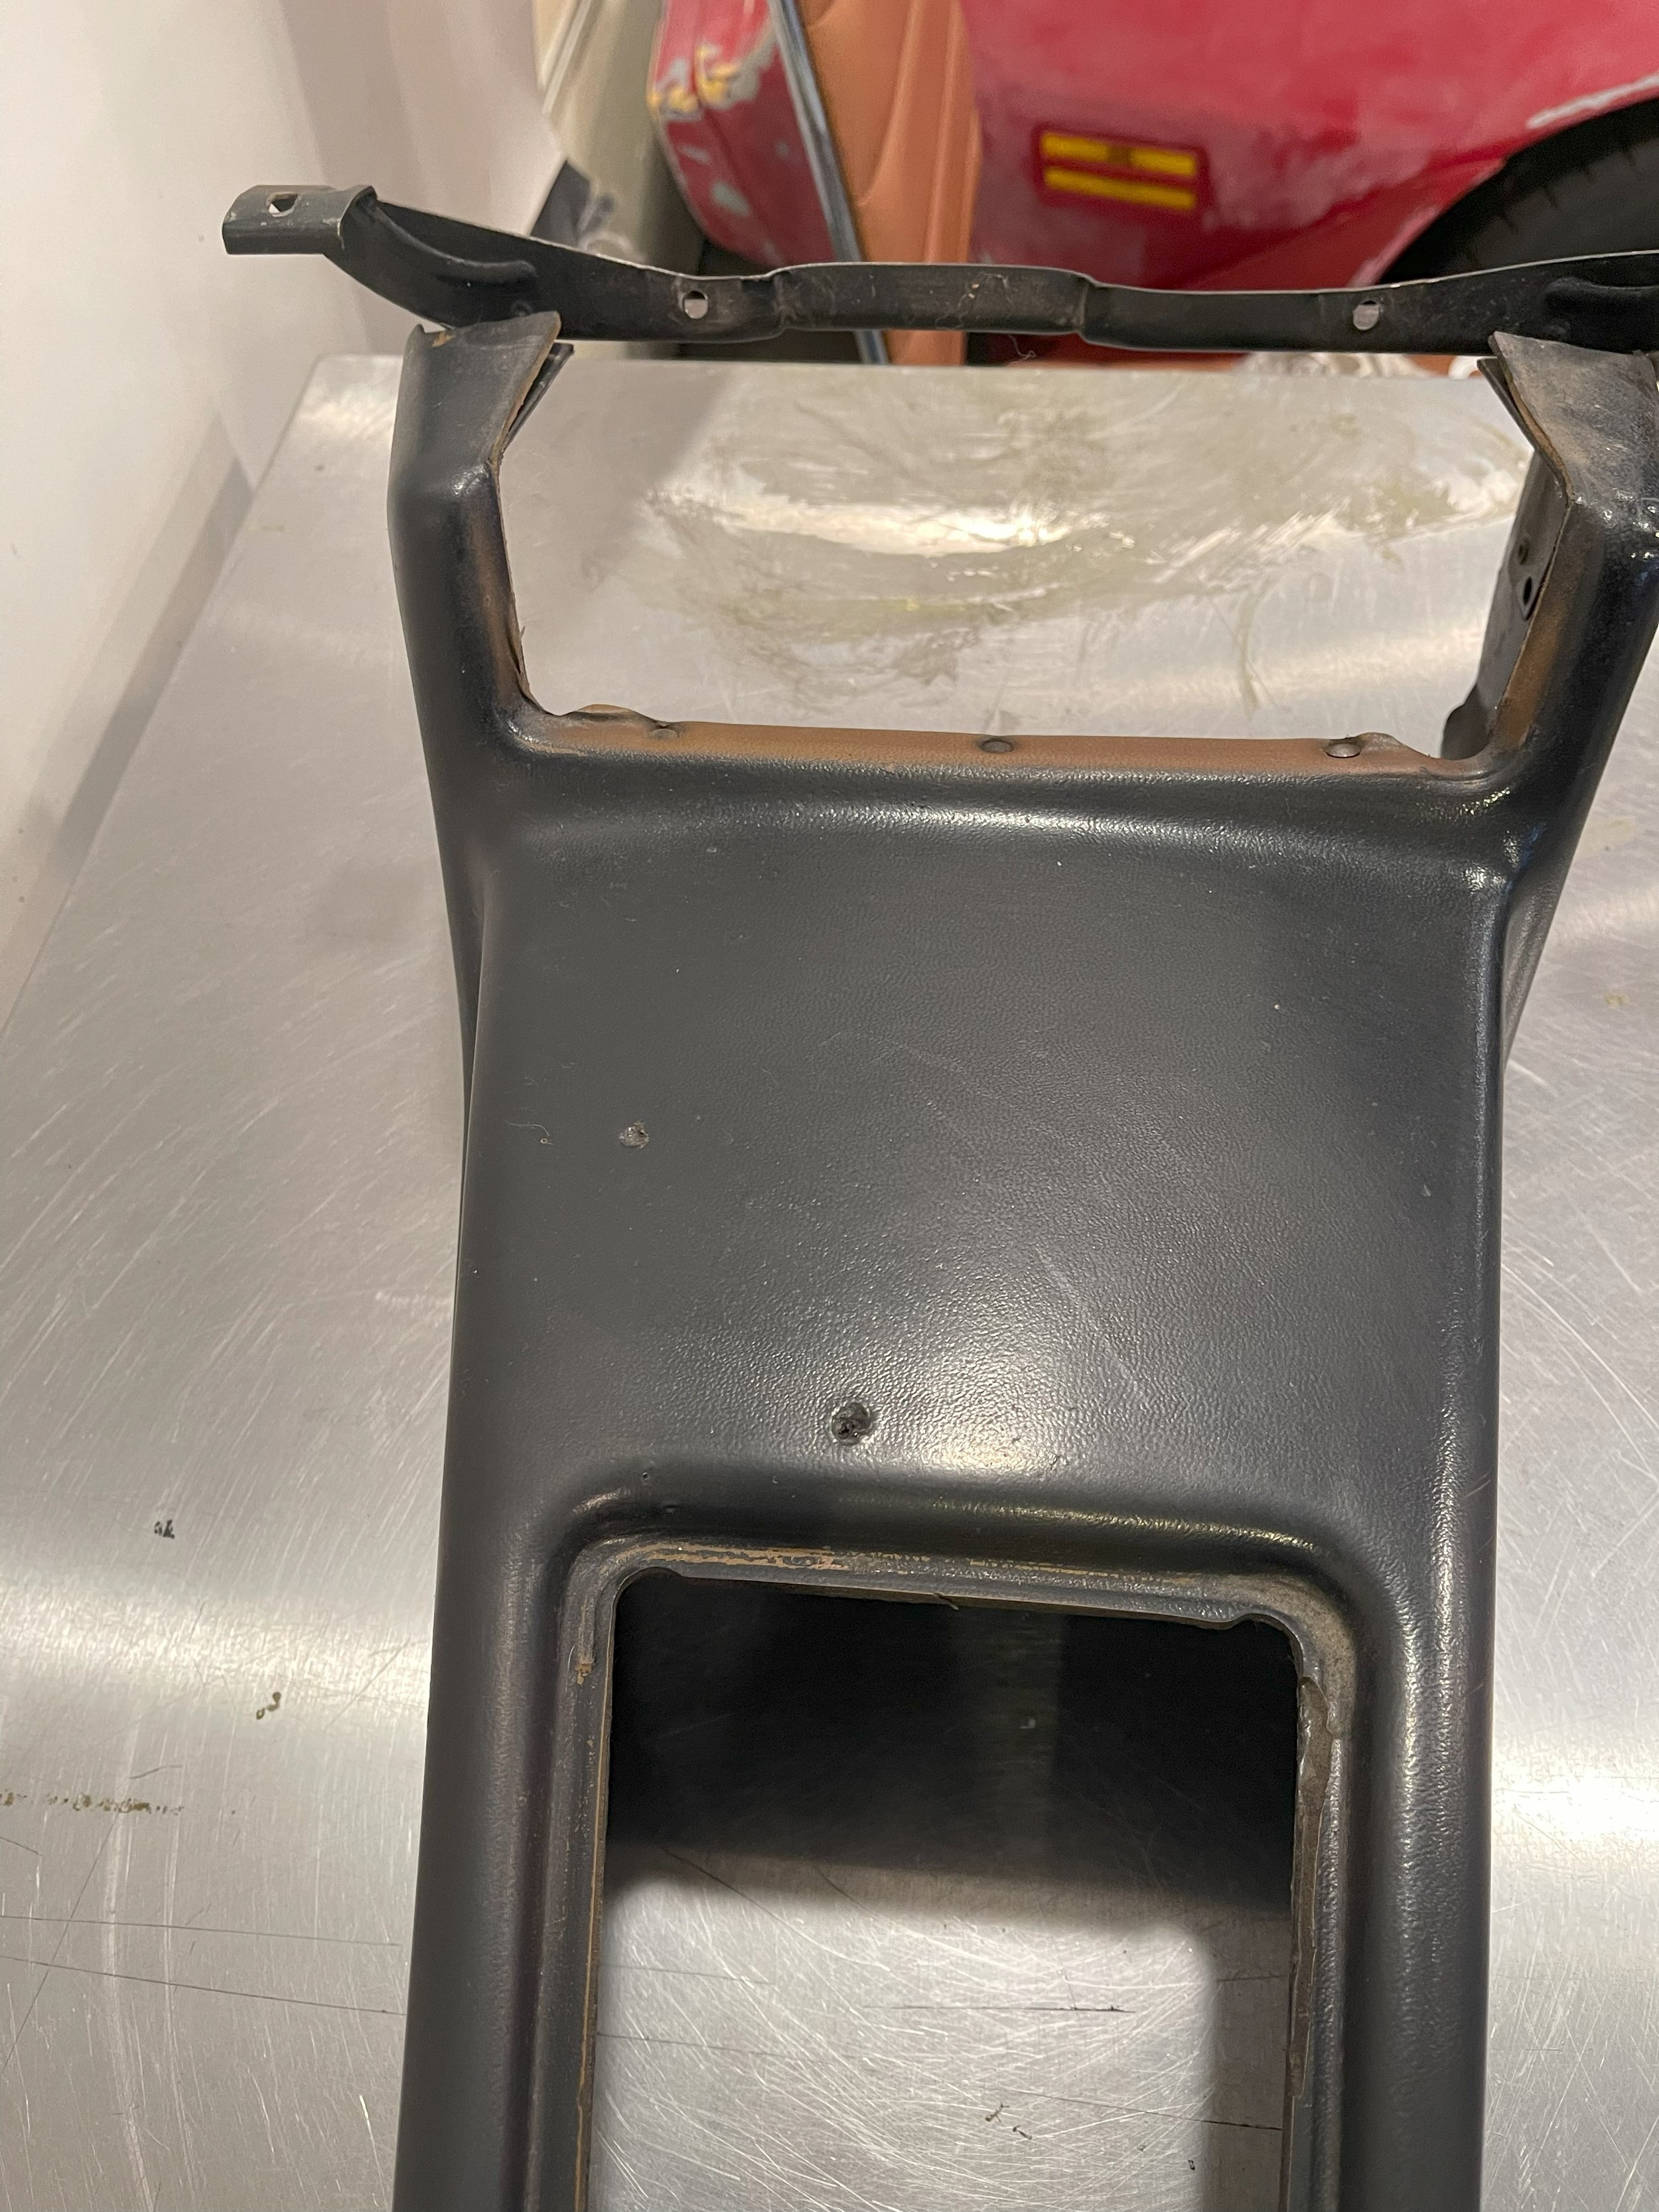
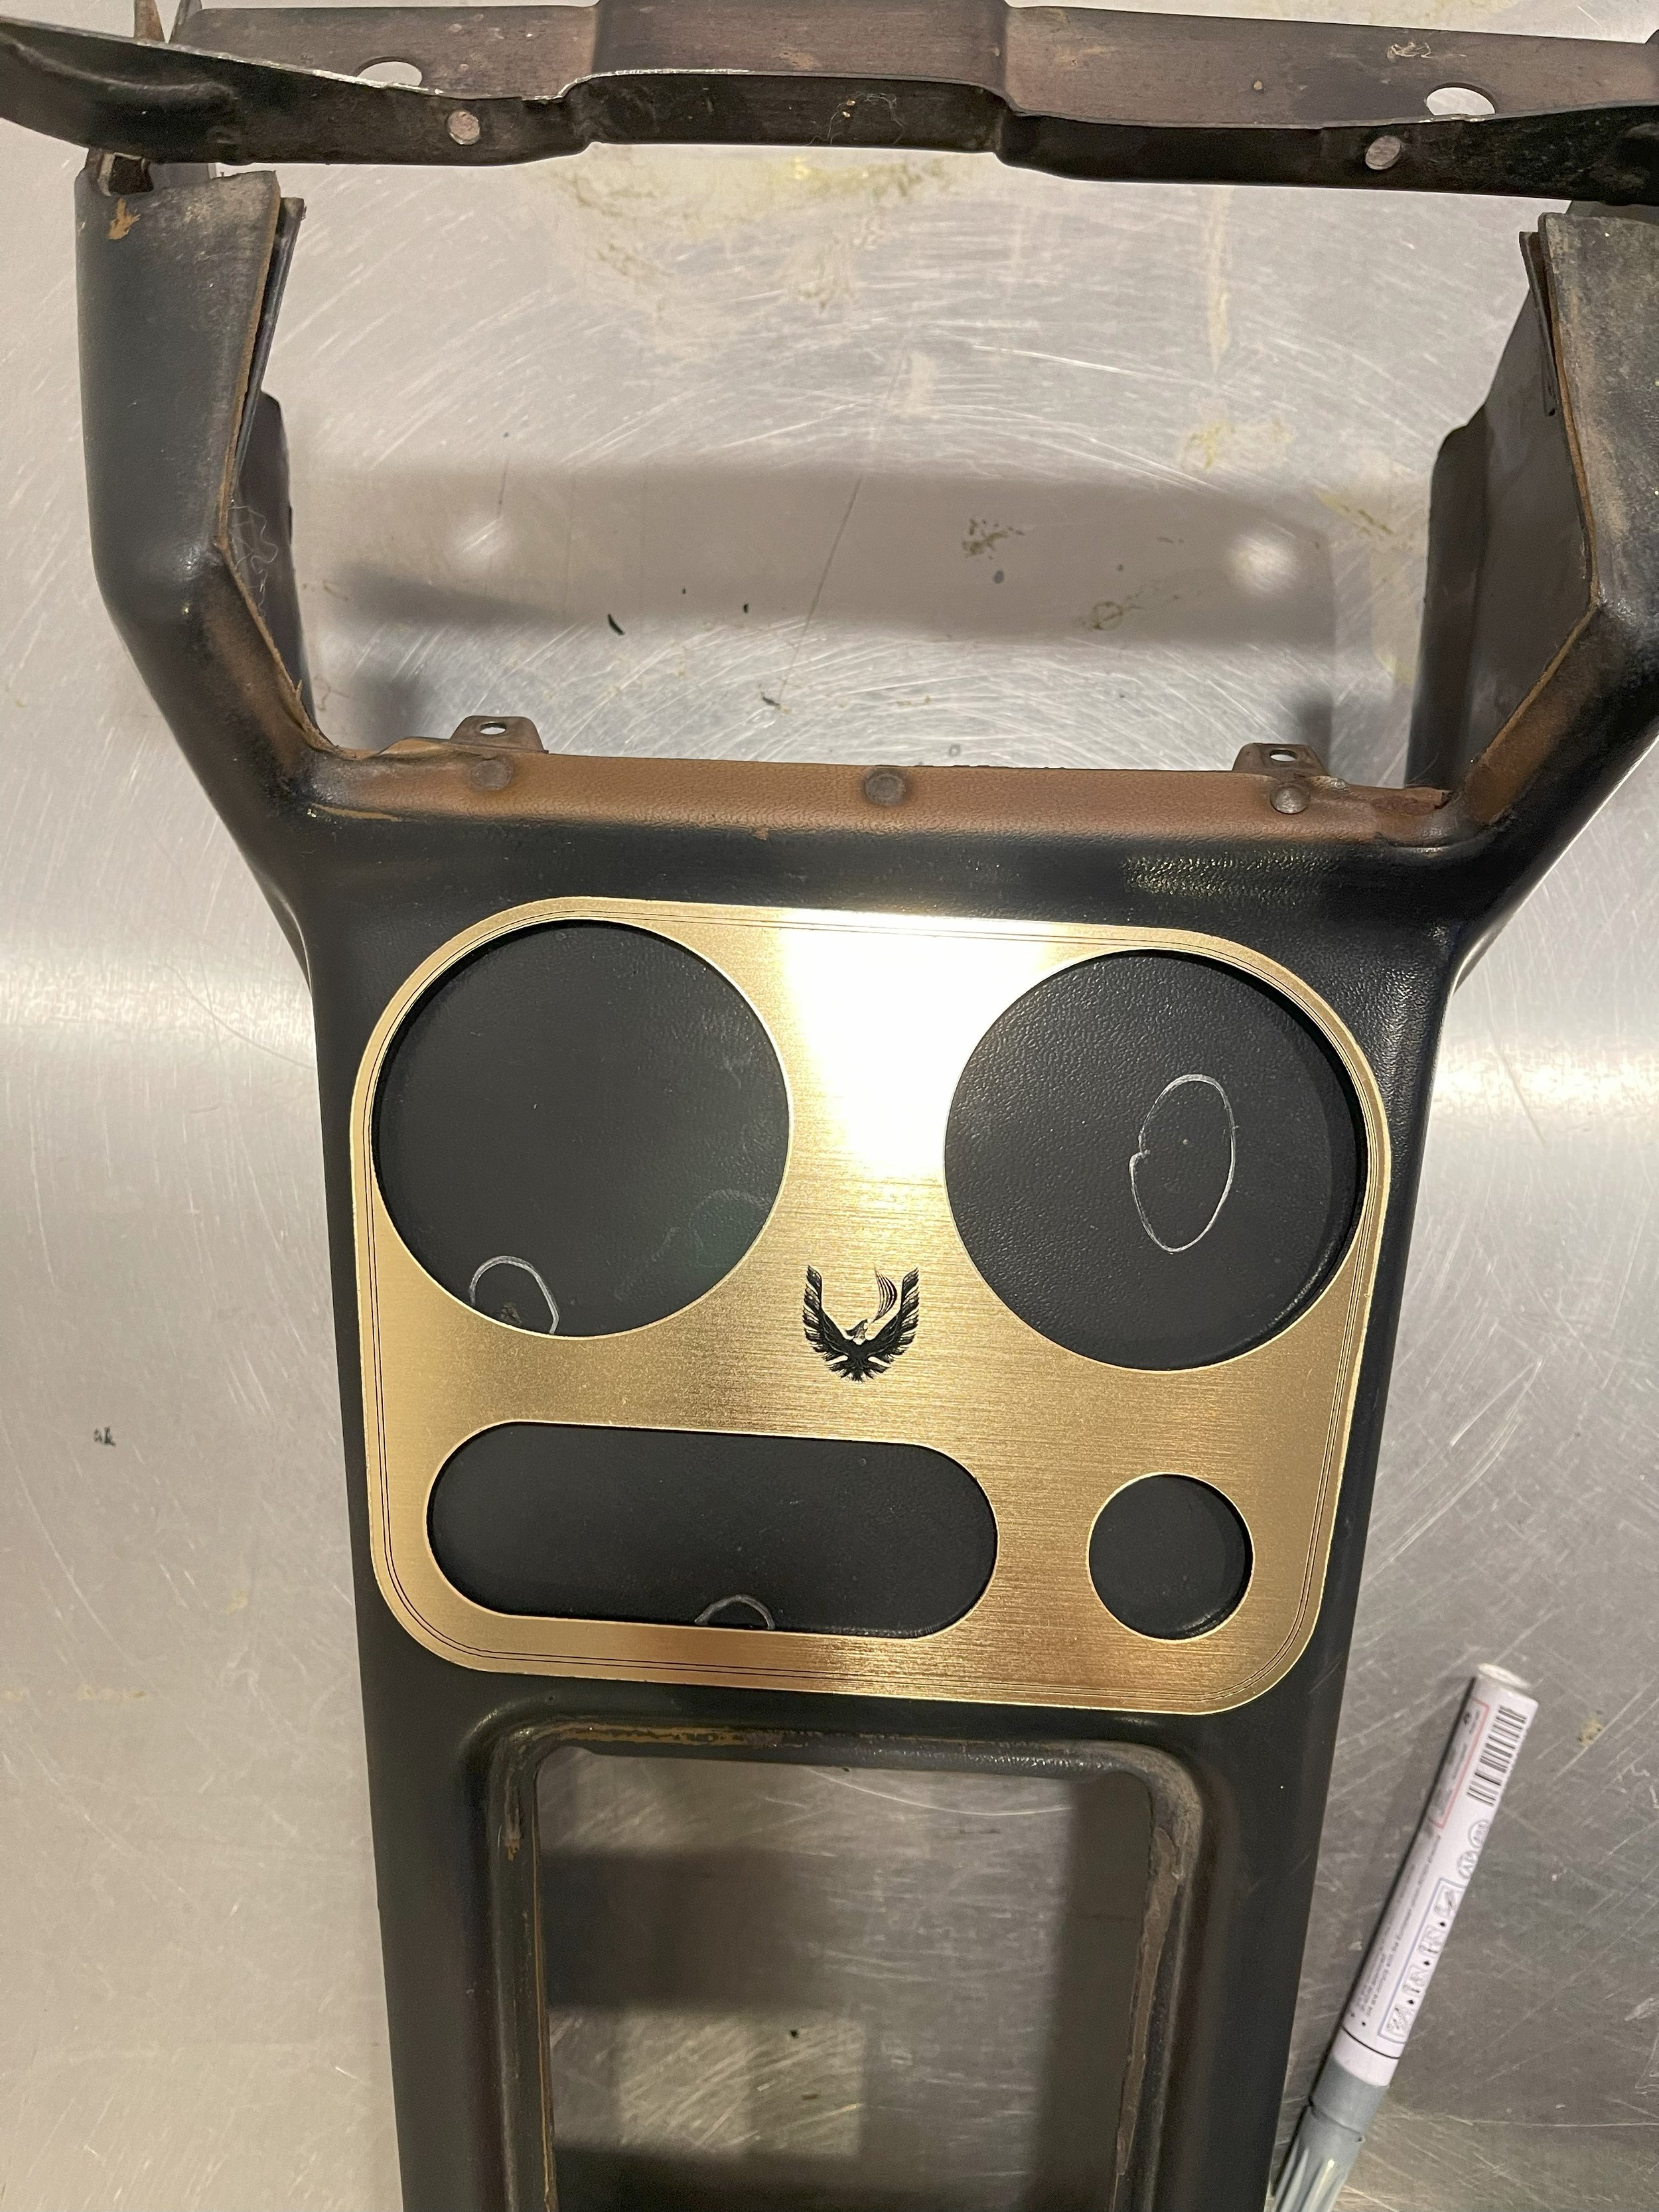
Step 1 - Before uncovering the plastic cover off your acrylic bezel, use as template.
Step 2 -Remove Console (Recommended)
Step 3 - Use bezel for template, find center points of each hole, mark with sharpie and use a hole saw to cut holes. For the optional phone cup, use saw to connect the holes.
Step 4 - Cup hole sizes are 3 5/32” (80mm, (32mm) Optional Phone Cup 1.5 or (38mm) .
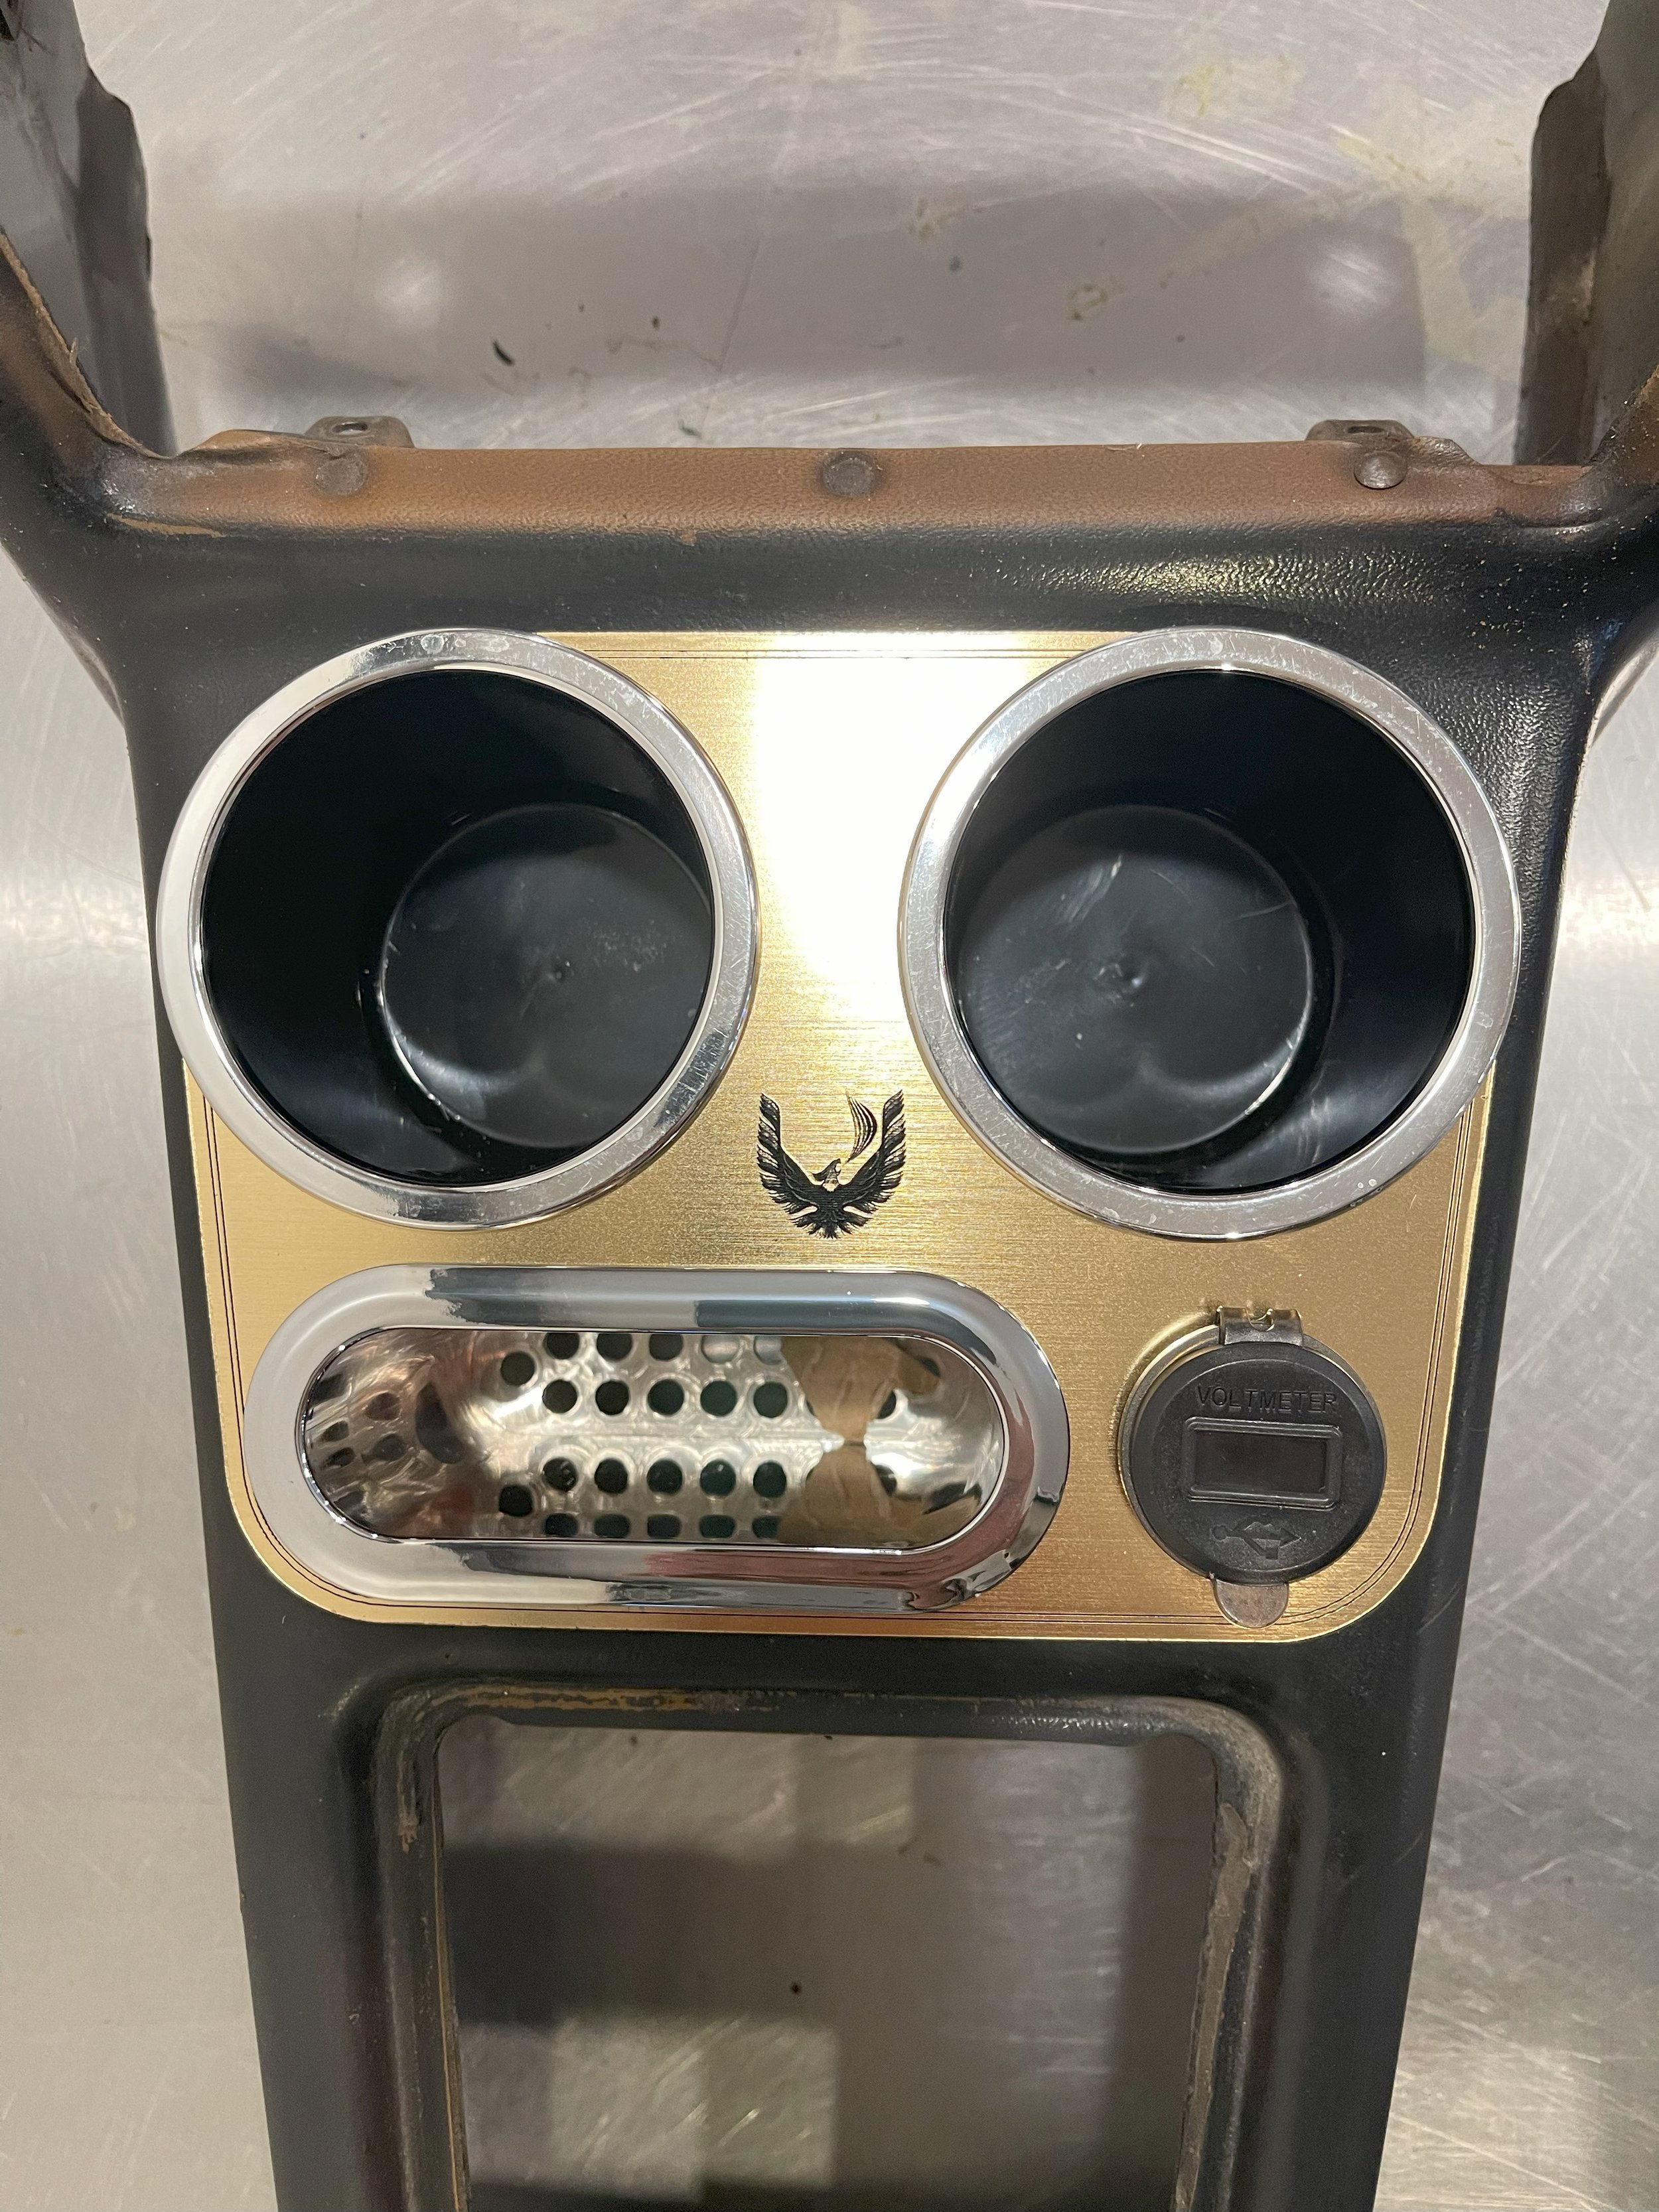
Step 5 - Remove plastic, assemble components by using rubber retainer from under the console.
Step 6 - Install USB port wire from USB to cigarette lighter or accessory fuse.
For professional installation, seek out local car stereo installation specialist.
Always measure twice and cut once. Removing the console is recommended.


